# Q2 Integration
# Clinc Platform Setup
If you don't already have an integration, please reference How to create an integration.
# Creating Q2 Integration
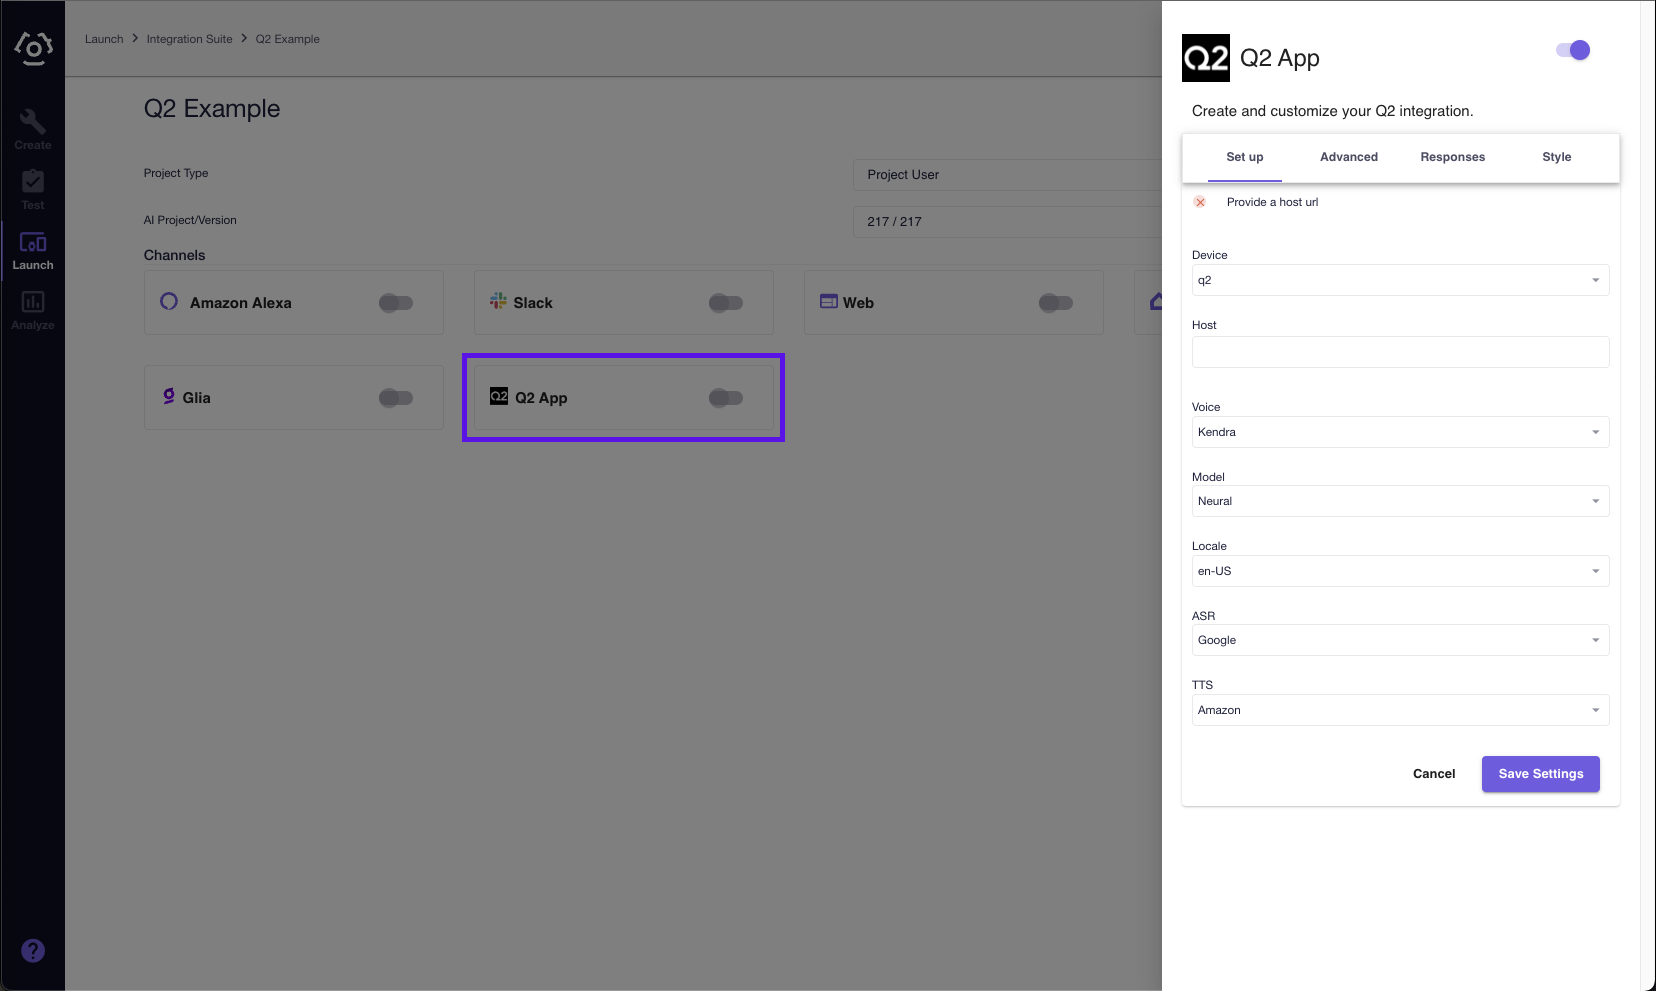
- In the integration, select the Q2 App card under the Channels section to open the integration sidebar.

- Configuration
| Field | Description | Configuration Tab |
|---|---|---|
| AI Version | Host's AI Version. Empty field will fall back to deployed version | Config |
| ASR | Sets the Automatic Speech Recognition engine | Config |
| Clickwrap | Enable or disable the clickwrap agreement | Advanced |
| Device | Select the device for the associated Clinc Personality | Config |
| Experience Token | Personality selection for supported AI version | Advanced |
| External User | Query parameter (external_user_id) | Advanced |
| Host | Clinc API hostname | Config |
| Image | Fullscreen background image | Response |
| Interval | Seconds between automated tooltips and prompts | Advanced |
| Language | ISO 639-1 Code | Config |
| Locale | ASR and TTS engine locale | Config |
| Model | The TTS model quality. (Standard/lower or Neural/higher quality) | Config |
| Test | Enable developer mode | Advanced |
| Title | Title of chat window | Response |
| TTS | Sets the Text-To-Speech engine | Config |
| Voice | The Amazon (opens new window) or Google (opens new window) voice used by the TTS engine | Config |
| Website | CORS supported embedded Website that is displayed in the background | Response |
| Welcome Message | Initial chat message presented | Response |
| Error Message | Message displayed in chat when an error occurs processing a users query. | Response |
| Tooltips | One to three messages that will be displayed above the chat bubble based on the value set for interval. | Response |
| Auto Messages | One to three messages that will be displayed in chat based on the value set for interval. | Response |
- Style
| Field | Value Type |
|---|---|
| Chat Bubble Icon | URL |
| Chat Bubble Background Color | Legal CSS Colors (opens new window) |
| Chat WIndow Header Color | Legal CSS Colors (opens new window) |
| Chat Window Header Text Color | Legal CSS Colors (opens new window) |
| Chat Window Background Color | Legal CSS Colors (opens new window) |
| Chat Window Footer Color | Legal CSS Colors (opens new window) |
| Chat Window Footer Text Color | Legal CSS Colors (opens new window) |
| Chat Window Voice Visual Color | Legal CSS Colors (opens new window) |
| Chat Window Voice Visual Background Color | Legal CSS Colors (opens new window) |
| Chat Bot Icon | URL |
| Bot Response Bubble Color | Legal CSS Colors (opens new window) |
| Bot Response Bubble Text Color | Legal CSS Colors (opens new window) |
| User Response Bubble Color | Legal CSS Colors (opens new window) |
| User Response Bubble Text Color | Legal CSS Colors (opens new window) |
| Tooltip Background Color | Legal CSS Colors (opens new window) |
| Tooltip Border Color | Legal CSS Colors (opens new window) |
| Advanced Styling | CSS |
Apply any additional CSS not covered by the fields in the
Advanced Stylingfield.Example
Add the following CSS in the
Advanced Stylingfield to change the shape of the chat bubble.#clincOpenButton { border-radius: 18px; }
At the bottom of the integration sidebar, click Save Settings.
Under the Channels section, click on Q2 App to reopen the integration sidebar.
Copy the integration URL at the top of the sidebar. You will need your Q2 integration URL when requesting the Clinc app to be installed from Q2.
# Q2 Configuration
# Installing Clinc
- Visit the Clinc (opens new window) app page in Q2 Marketplace.
- Click
Request App - You will need to provide Q2 the following items.
- Clinc API key - Generate an API Key
- Q2 Integration URL generated in the above step Creating Q2 Integration.