# Web Integration
# Clinc Platform Setup
If you don't already have an integration, please reference How to create an integration.
# Creating Web Integration
- In the integration, select the Web card under the Channels section to open the integration sidebar.
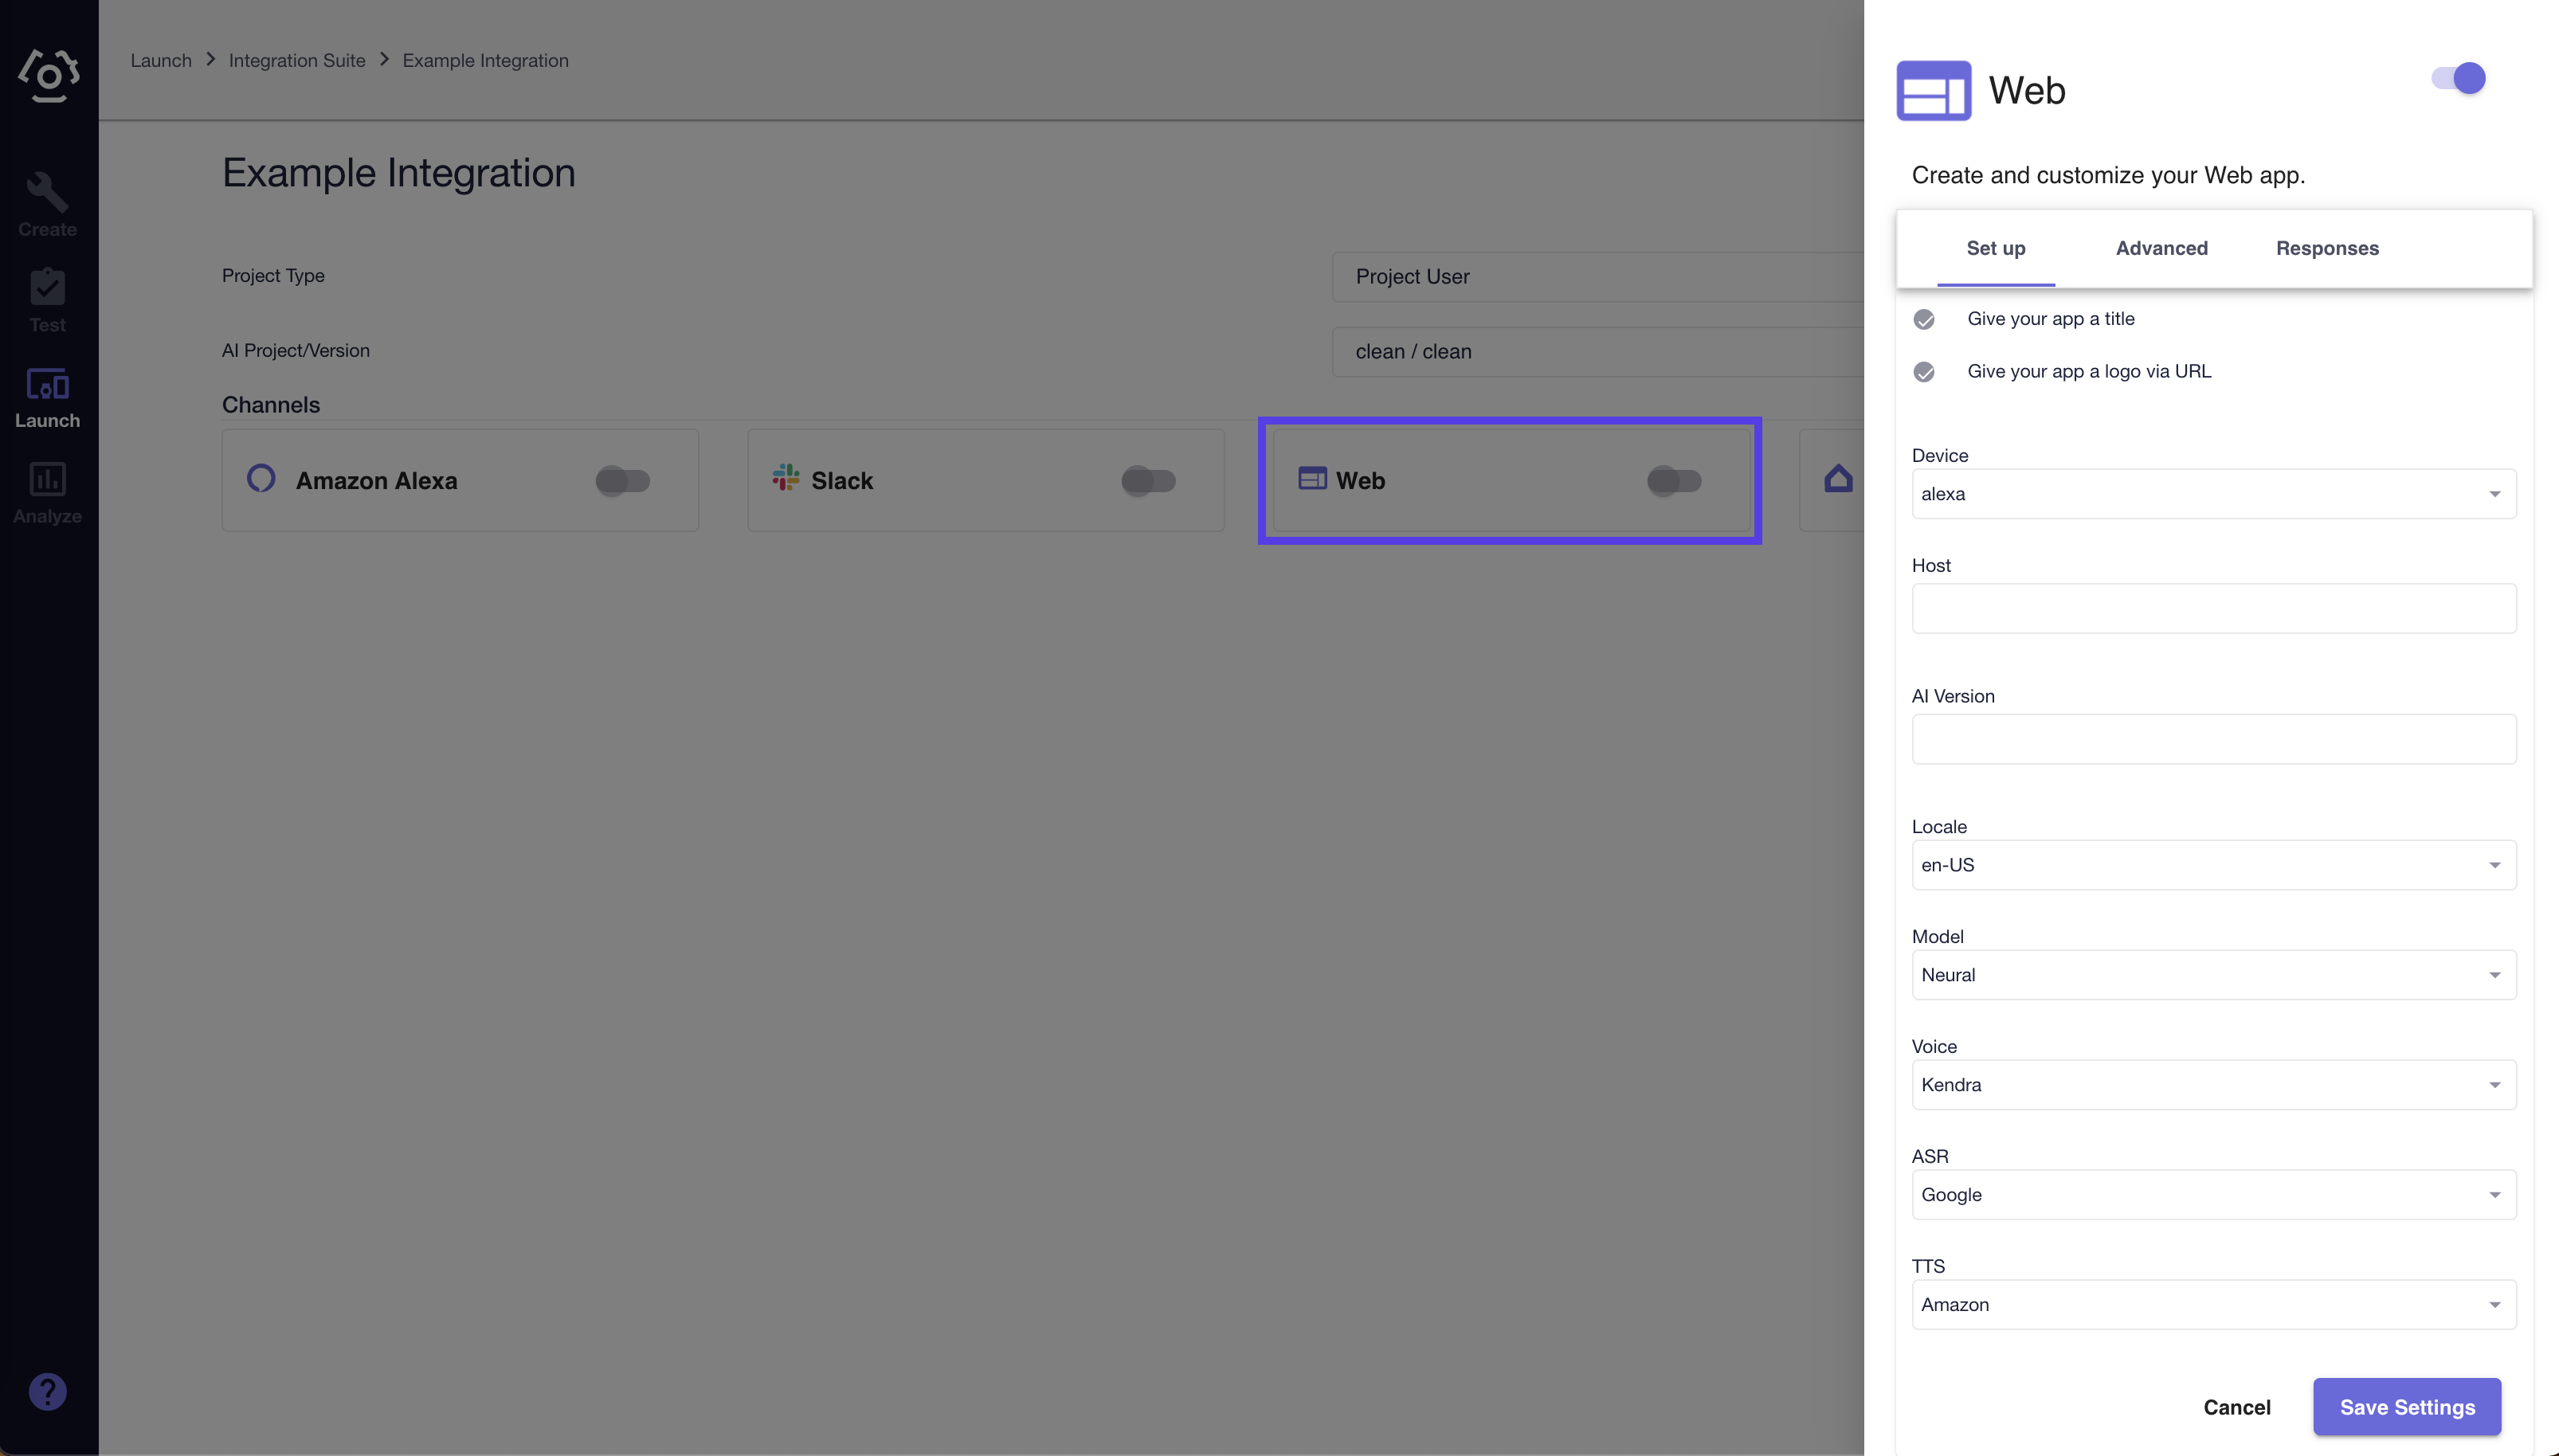
- Configuration
| Field | Description | Configuration Tab |
|---|---|---|
| AI Version | Host's AI Version. Empty field will fall back to deployed version | Config |
| ASR | Sets the Automatic Speech Recognition engine | Config |
| Auto Messages | Messages displayed to the user in the chat window based on interval value. | Response |
| Clickwrap | Enable or disable the clickwrap agreement | Advanced |
| Device | Select the device for the associated Clinc Personality | Config |
| Experience Token | Personality selection for supported AI version | Advanced |
| External Authentication | Use external authentication | Advanced |
| User | Query parameter (external_user_id) | Advanced |
| Host | Clinc API hostname | Config |
| Image | Fullscreen background image | Response |
| Interval | Seconds between automated tooltips and prompts | Advanced |
| Language | ISO 639-1 Code | Config |
| Locale | ASR and TTS engine locale | Config |
| Model | The TTS model quality. (Standard/lower or Neural/higher quality) | Config |
| Search Query URL Template | Url to used to search an out-of-scope query. | Advanced |
| Test | Enable developer mode | Advanced |
| Title | Title of chat window | Response |
| Tool Tip Messages | Messages displayed to the user above the chat bubble based on interval value. | Response |
| TTS | Sets the Text-To-Speech engine | Config |
| Voice | The Amazon (opens new window) or Google (opens new window) voice used by the TTS engine | Config |
| Website | CORS supported embedded Website that is displayed in the background | Response |
| Welcome Message | Initial chat message presented | Response |
At the bottom of the integration sidebar, click Save.
Under the Channels section, click on Web to reopen the integration sidebar.
Copy the integration URL at the top of the sidebar.

# Test Out Your Web Integration
You can test out your Web integration by navigating to the integration URL in your web browser.
Upon navigating to the integration URL you will be presented with a login page.
Login using your hostname, institution, username and password.
After successfully logging in, the page will reload, and you will see a chat window icon in the bottom right corner.
Open the chat window by clicking the icon and start typing and/or speaking your desired query.
Last updated: 11/16/2021